Monday, February 24, 2014

Suspended Book Rack


I don't know what it is about books, but I can never have enough of them. I've always been somewhat of a bookworm, and even as I get older, I try to make as much time for reading as I can. I go a little crazy when I go into used bookstores (especially cheap ones) and I stock up on anything that may be remotely interesting. If it only costs a nickle, why not give it a try? I've found some really good books this way (and some not so good ones), but you never know until you try.

Not only do I love reading my books, I love to display them. I have quite the collection going now and I have more books than I have shelves. Recently, I saw this book rack and I knew immediately I had to have one...until I saw the price tag. For weeks I tried to figure out how to make one, and I finally came up with something close. It isn't identical, but I absolutely love the way it turned out.

Here is how I made it:

Supplies:


  • Wooden Dowel 
  • Crafting String
  • Small wooden disks
  • Stain (optional)
  • Drill
  • Hangers (I used some that went to a curtain rod I was no longer using)
I found the first three things at hobby lobby for less than $10 and the others I already had on hand. The size of the dowel doesn't matter too much, but you will want one thick enough to hold books. I knew I was going to cut mine to fit in this cubby hole, so I knew it wouldn't be completely full. If you want to use the whole dowel, you will probably want one that is a little thicker than the one I used. I found the disks in a variety pack in the woodworking section of hobby lobby. They are pretty brittle, but the were cheap and I had a lot of spares.


I started out by staining the wooden disks and dowel because I wanted it to be darker than the natural color. The weather was absolutely beautiful this weekend, so I took everything outside. After my stain had dried, I drilled 2 holes in each of the disks. 


I think the disks I picked up were made out of balsa wood, so they were very brittle. I was glad I stained extras because the majority of them cracked during the drilling process. If you can find it easily, it wouldn't hurt to use a thicker disk than what I used. These work fine, but only the few strong ones will survive.


I cut my string into about 3' long pieces. I only had 14 surviving disks, so I cut 14 pieces of string. I ended up not using all of them, but I have extras in case I ever want to add more books. I wrapped the strings around the dowel and secured (I think the knot I used is called a girth hitch). Hopefully the pictures make more sense than me trying to explain it.


I didn't worry too much about spacing because I knew it would change when I put the books on the rack. Once I had all my strings in place, I started attaching the round disks to the bottom.


(Sorry that the last picture is a little blurry! The ropes wouldn't quit swinging while I was trying to take a picture.) 

Anyways, after you get all the disks attached, you are pretty much done at this point! The last thing left to do is hang it and put books on it. Like I mentioned earlier, I just used some hooks from a curtain rod that I was no longer using. This worked really well because it has screws to keep the dowel in place and the dowel is just a little smaller than the curtain rod that came with it. 

          
To hang the books, I just slipped the string around all the pages leaving out the front and back cover. I had to play with the strings a little bit to get them to sit straight, but once I had them in place they were pretty easy to keep there.


I'm so happy with this new project and I love the way it turned out. If anyone else decides to try this, let me know how it turns out for you. I'd love to see the results!

P.S. If you like the flower pots, I posted about them here ;)

xo - Nancy


Sunday, February 23, 2014

DIY Lace Print Frosted Glass


Since we moved into our house in June, I've been struggling with what to do with our front door. Initially, we had a curtain hanging over it to give us some privacy. Because of the pups, it was impossible to keep it clean and keep it from getting torn up or torn down. For a little while, we just left the door uncovered. I wasn't really happy with this solution because we didn't have any privacy and it was pretty easy to see straight into our house from the road. I wanted to give the windows a pretty pattern, but I hadn't figured out how I was going to do this. I was with a friend last week when she was telling me about glass frosting. This seemed to be the solution to all of my problems. Glass frosting mixed with lace is obviously a natural combination. Here is how I did it.

Supplies Needed:
  • Glass Frosting Spray
  • Hot Glue Gun
  • Lace
At first I tried to tape the lace to the window frames, but that didn't work out too well because the lace was still a good half inch away from the glass. I knew it would distort the pattern too much. I ended up using my hot glue gun to tack down the lace in multiple spots to keep it from moving when I sprayed the frosting. Despite the warnings on the can of glass frosting, I sprayed the outside of the door. With my big, furry pups, this method wouldn't last a week without getting ruined if I sprayed the inside of the door. There is a glass door on the outside, so I'm hoping that will protect my hard work from the weather.


This was how I managed the first section that I did. I used a magazine and junk mail to cover up the other panes to keep the frosting from getting on them. The tape is pretty much just for looks. What is actually keeping the lace in place is hot glue. I put one dot in each corner and one in the middle of each side. I tried to put it on spots were the roses were so that it wouldn't leave an awkward dot.


This is what my door looked like after 3 squares were finished. I learned as I went that it really makes much more sense to do more than one square at a time. What I did was used the big piece of lace and covered 6 panes at a time. This made the process go much faster. 


This project was pretty quick and easy once I figured out what I was doing. I love the end result and I love the added privacy we have now. You can still see inside, but not as easily as before. During the day you can't see inside at all unless you put your face to the glass. 


I'm very happy with the results and I have a feeling I'll try some more glass frosting projects with my leftover spray. 

xo-Nancy


Saturday, February 22, 2014

Doggy Diaries


1. Brother and sister love 2. Puppy cuddles 3. Let us in mom; it is cold. 4. Dress up time with Ollie. 


It is no secret that I adore my pups. We have had Cheyenne for almost 6 years and we have had Ollie for 3 (for those of you who don't already know, my big fluffy one is Ollie and the pretty girl with the brown patch over her eye is Cheyenne). I actually came up with my blog name because of these two monsters. They are a lot of work to keep up with, but I wouldn't trade them for anything. I take countless pictures of these pups, so I thought I'd start a snapshot series just for them ❤️

-xo Nancy

Friday, February 14, 2014

Cheesecake Brownie Recipe


Since today is Valentine's day, I thought it would be a fitting time to post this recipe. I've been making these every year for the past few years because Adam's favorite food is always cheesecake. When you take the richness of cheesecake and mix it with chocolate, how can it possibly be a bad idea? Anyways, let's get on with the recipe, which is adapted from here.


Ingredients:

Brownies:

1 stick of butter, melted
2 C of sugar
2/3 C of unsweetened baking cocoa
4 eggs
2 t of vanilla extract
1 1/2 C of flour
1/2 t of salt

Cream Cheese Topping:

8 oz softened cream cheese
1/2 C of sugar
1 egg
1 t of vanilla extract


  • Preheat oven to 350 degrees.
  • Take your melted butter, cocoa, and sugar and mix it in your stand mixer or a large mixing bowl. Continue mixing until everything is well blended. 
  • Once the first 3 ingredients are mixed well, add in your eggs one at a time. Make sure they are fully incorporated into the mixture before you add the next one. 
  • Add in your vanilla extract
  • Slowly add in your flour flour and salt. 
  • Once these ingredients are mixed well, pour the batter into a greased baking dish. I used a 9x13 pan. 
Cheesecake topping:
  • Beat your softened cream cheese until it is nice and smooth. Add in your sugar, egg, and vanilla and mix until well blended. 
  • Take your cheesecake mixture and pour it over the brownie mixture

  • Run a knife back and forth in the batter to create swirls on the top. This will mix the brownie and cheesecake mixture slightly and will make an oh so pretty topping after they are baked. It should look something like this when you are done.

  • Bake for 45-55 minutes. Keep an eye on them because you don't want to overcook them. Once you can stick a fork or toothpick in the middle and it comes out clean, then you know they are done!
These brownies are fluffy and delicious. I don't like really rich, dense brownies, so these are perfect for me. I brought a bunch of them to work and they were quite a hit with the boys, and of course Adam loved them too. I wish I would have gotten a better picture, because this one just does not do them justice. I can't take one now though because they are long gone. Oops!


I hope you try out this recipe and love them as much as we do! Of course, you are probably going to want to find someone to share them with, because once you start snacking on them, it is hard to stop.

-xo Nancy

Sunday, February 9, 2014

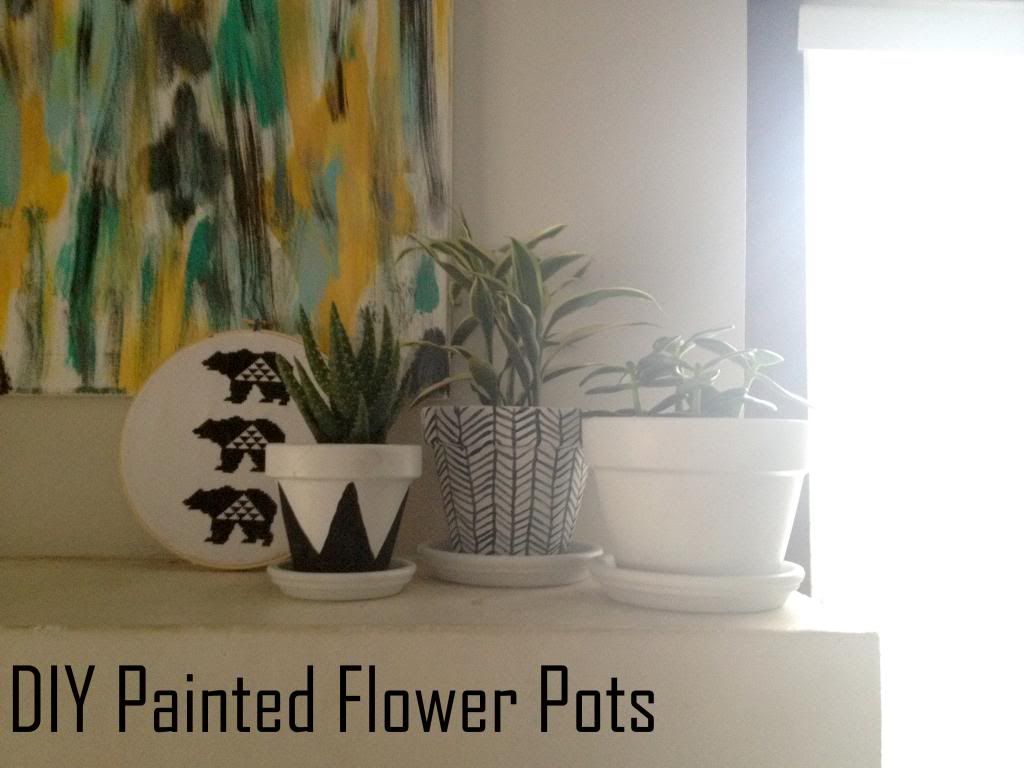
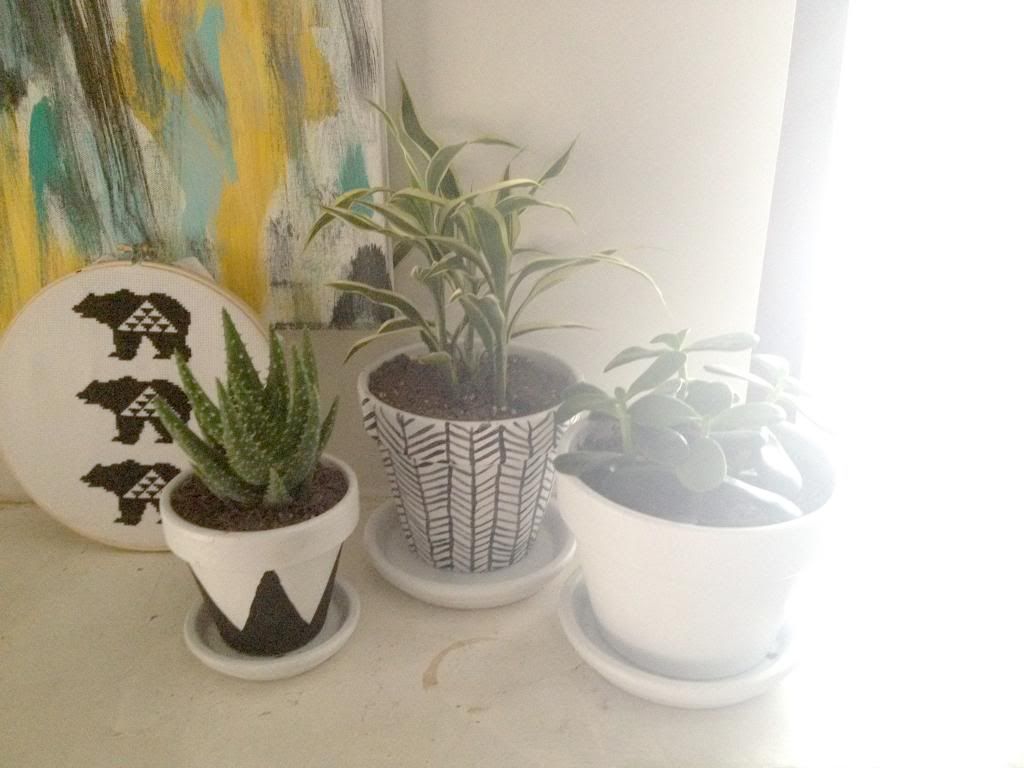
Painted Terra Cotta Pots


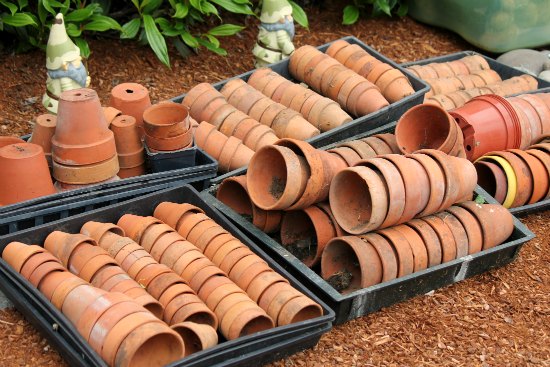
I really love terra cotta pots (especially these pictures here and here). I think I love them so much because they are like a blank canvas just waiting to be filled with something beautiful, whether that be with beautiful plants or altered physically to express your personal style.


Last weekend was absolutely beautiful, so I had to get out and do something. Home Depot was calling my name begging me to come buy some new plants and pots. I picked up an assortment of house plants along with a handful of different sized pots. I sat outside for a few hours painting and planting and it was absolutely wonderful to see the sun, especially after the extremely cold weather we have been having lately.

If you want to make your own, here is what you'll need:

- flat white primer spray paint (I used this one here. They carry it at home depot.)
- terra cotta pots
- craft paint in whatever color you'd like
- paint brushes in assorted sizes

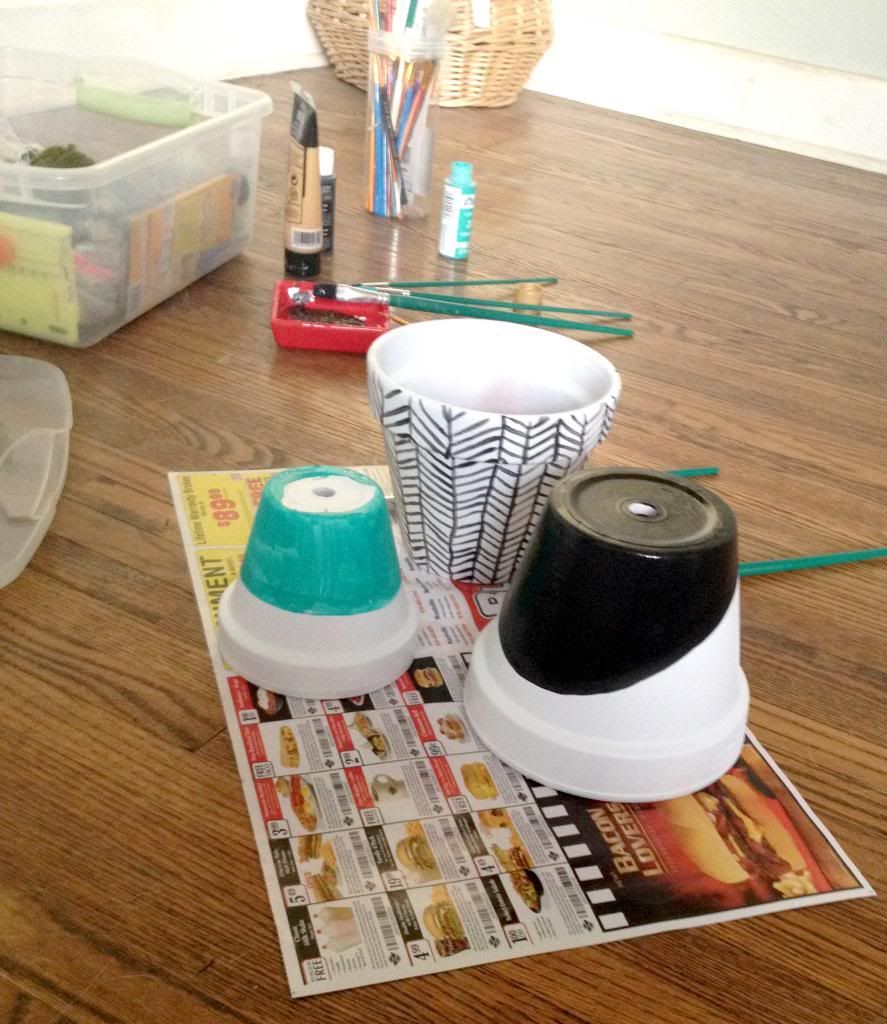
The first thing you'll need to do is use the primer to prep the pots for painting. This step isn't absolutely necessary, but by doing this you'll have to make fewer coats with your craft paint. It took me 2-4 coats for each pot. I like to do thinner layers for a more even look, and this also helps minimize runs. Runs are not pretty.


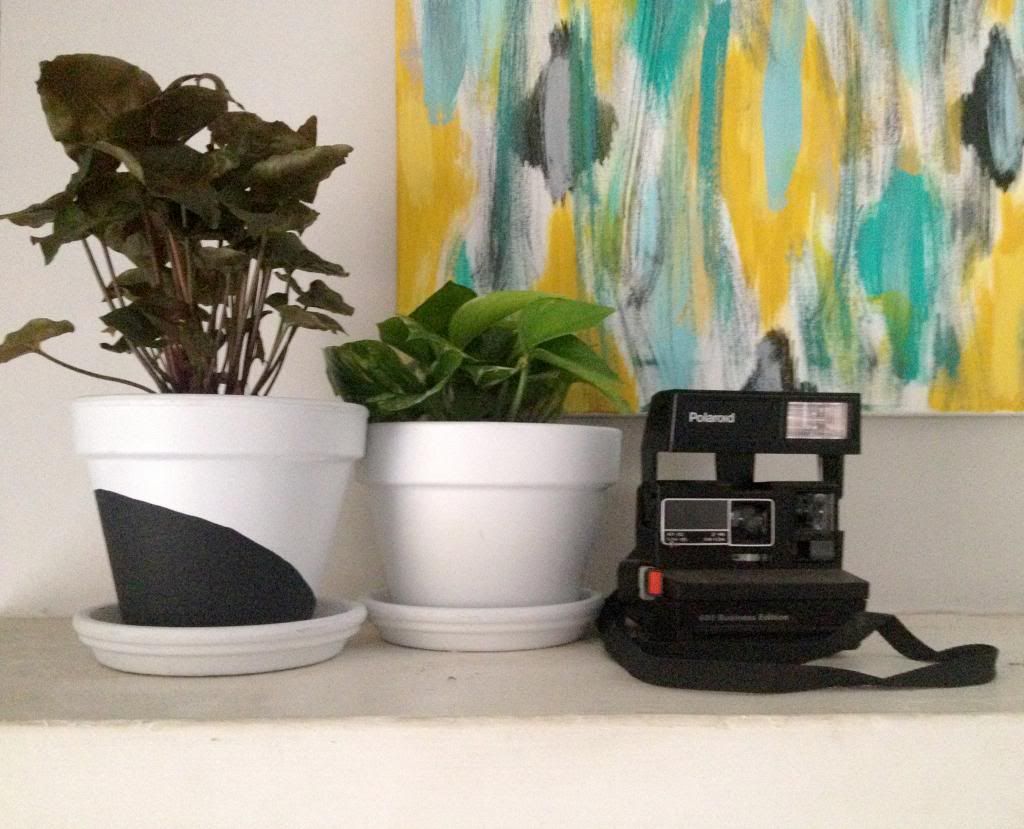
Once you finish priming, you can decorate however you'd like. I like to free hand my designs, but if you want perfectly straight lines (and have an abundance of patience), you can use painters tape to tape off areas. I brought mine inside for this step, because it was starting to get a little chilly out as the sun was going down. I chose to go with a black and white theme for a uniform look. I ended up painting over the poor little blue pot because I decided that I wanted them all to match.


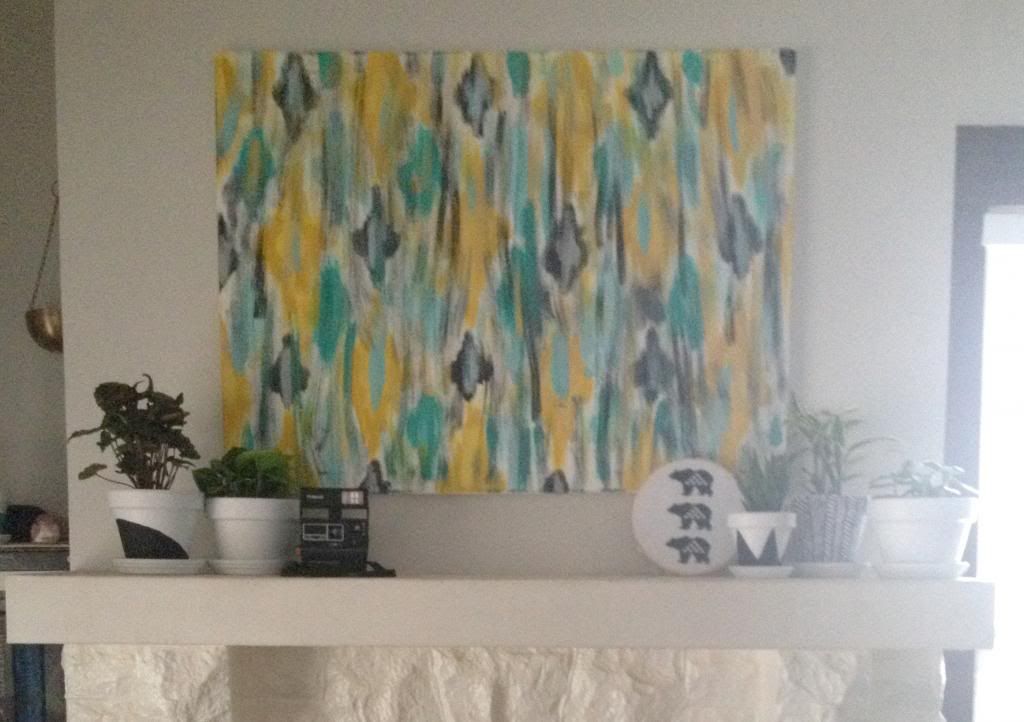
I really love how these turned out. I'm not sure that I'll keep all of them on the mantle, but for now, I like them. They bring a little life into my living room and to my giant mantle that has looked so sad and lonely lately. I hope you've enjoyed this post and I highly encourage you to go out and make your own. 

xo-Nancy

Saturday, January 18, 2014

Etsy Love

Happy Saturday Everyone!

I'm sure you have seen the "shop" link on the side. This is a link to my Etsy shop. I love having my shop and I love supporting the Etsy community. Here are some of my current obsessions:


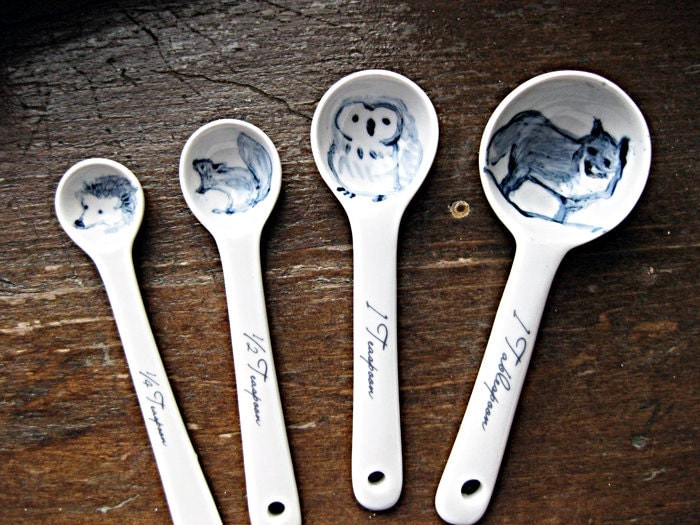
I have an addiction to kitchen gadgets and an extreme love for woodland creatures. Therefore, these Forest Animal Measuring Spoons are perfect in every way.


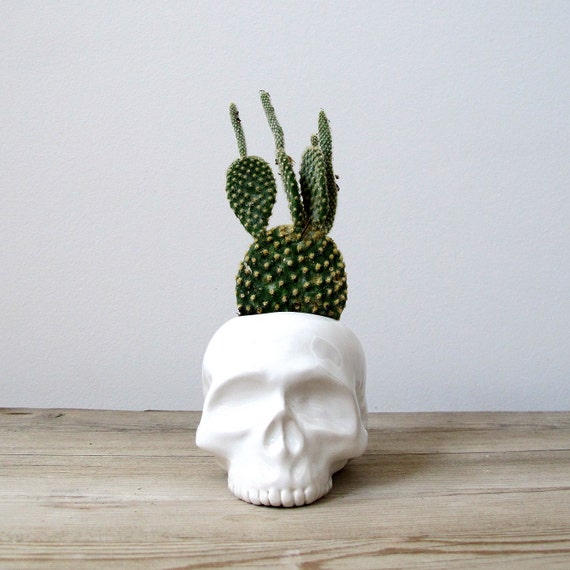
This skull planter is fabulous. Every home should have one. 


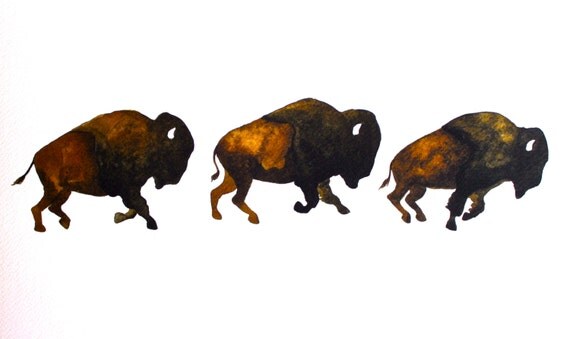
This buffalo picture will be on my wall shortly. Again with the animals. Love them.


Finally, these honeycomb wall decals are a bright pop of color for this cold, rainy winter. 

This is just a few things that I'm loving right now. Etsy is always full of fun, fresh ideas so I'm sure I'll be sharing more soon. 

xo-Nancy

Monday, January 13, 2014

DIY String Lampshade

 
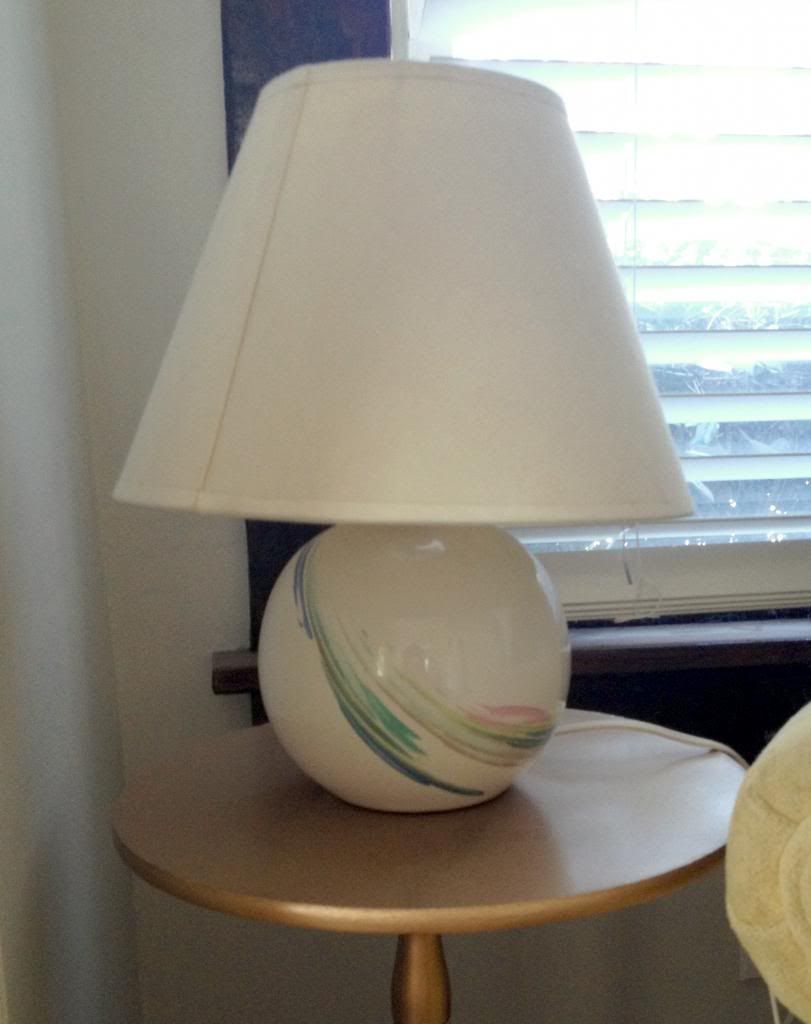
Today I am going to share my very first DIY post! I found this super cute lamp at a thrift store over the summer, and I've had this shade on it as a "temporary" fix, but I've never liked the way it looks on this adorable lamp. It was just an awkward size, just slightly too big, but I've had no luck finding one that fits better.


The day after Christmas, I finally decided I was tired of it and wanted to take matters into my own hands. I didn't really know how I was going to fix the lamp shade once it was ripped into pieces, so after almost a month of brainstorming and trial and error, I've finally come up with a solution.


Materials Needed:
  • Embroidery Thread or Yarn. (I used about 5 skeins of embroidery thread for my lampshade, but it could be more or less depending on your lampshade)
  • 16 Gauge Crafting Wire
  • Wire Cutters
  • Scissors
  • Lampshade
  • Water (optional)

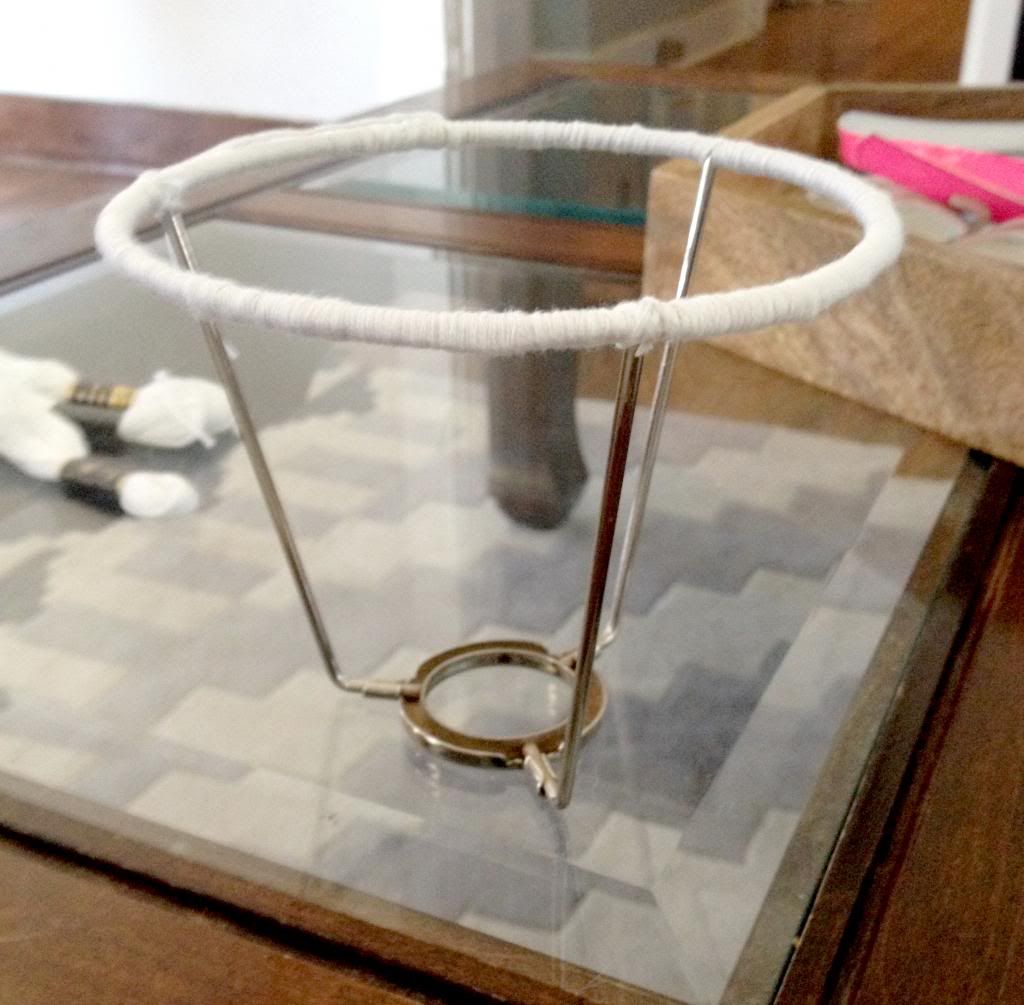
The very first thing I did, without really thinking much about it, was I ripped off all of the plastic/fabric from the metal base. Since there were no metal supports holding the top to the bottom, I ended up with 2 seperate pieces. From there, I took embroidery thread and wrapped it around the metal part.
 
 
This is what the top part looked like after I wrapped it in embroidery thread. You could skip this step, but since my original shade was a cream color, and my new shade would be a bright white, I didn't want the old shade to show through.
 
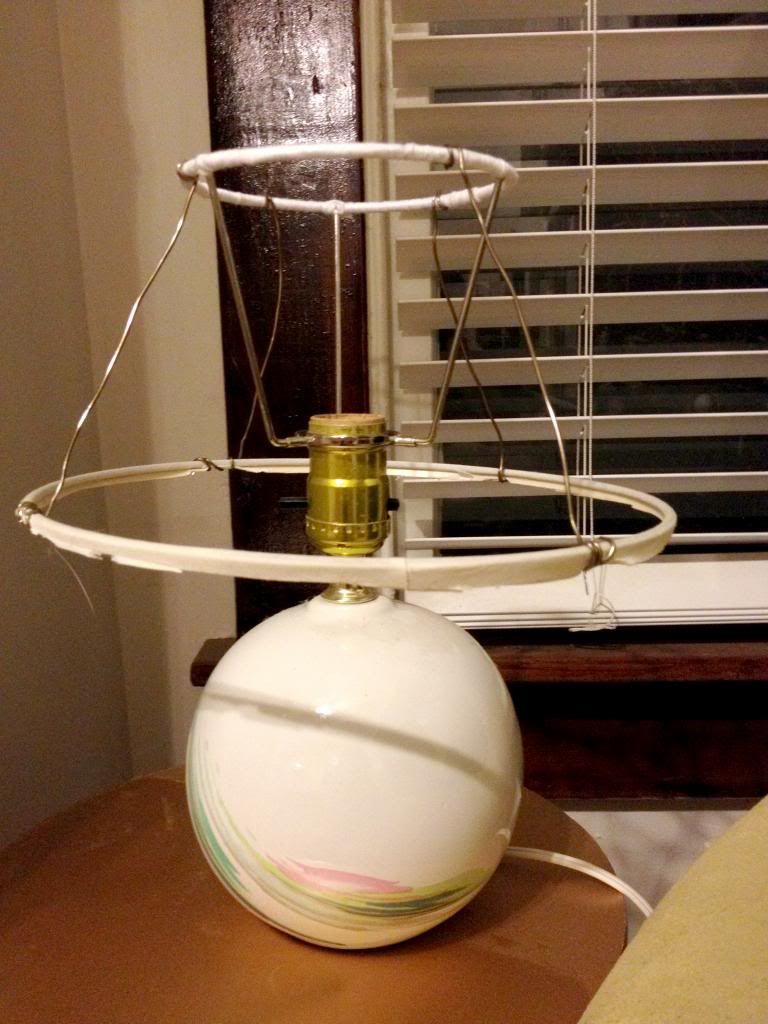
After I finised wrapping the top part, I used the crafting wire to connect the top and bottom pieces back together again. This part was a little tricky, because the wire bends very easily so it was hard to keep the top and bottom level. It doesn't have to be perfectly straight because you can use the string in the next step to even it out. However, you do want it pretty close because this is the easiest step to get it straight. I used 4 pieces of wire in this step. Here is what mine looked like after I connected the two pieces with wire.


A little tip: Make your shade a little longer than what you want the end product to be. It will more than likely shrink up a bit in the next step from the tension of the string. In the above picture, I hadn't wrapped the bottom portion yet, but I did do that before the next step. Also, if your lamp shade already has supporting wires, you can skip this step.
 
This last step is probably the hardest, so be prepared to stretch your patience just a bit. You'll need to take your string and wrap it around the shade with even tension to make sure you don't make the top and bottom pieces uneven. Since my embroidery thread had lots of creases in it, I put it in water first to make it easier to work with and to get the kinks out. The only downside to this step is that the string tangles much easier. I went in a zig zag pattern because it was easier to keep the pieces level. Here is what my shade looked like after my first layer of thread.
 
I kept adding the string in this manner until I was happy with the final look. I trimmed the loose strings, and then I was finished! I think I will add some kind of protective coating, but I haven't decided what to use yet. Here is the final product!
 
 
I think the shape is much more fitting for the lamp and I love the new look. It doesn't really add much shade from the bulb, but I generally use a lower wattage bulb in this lamp, so I don't think it will really matter. I hope  you enjoyed this tutorial, and if you decide to make one of these cute shades, I would love to see the results!
 
xo-Nancy