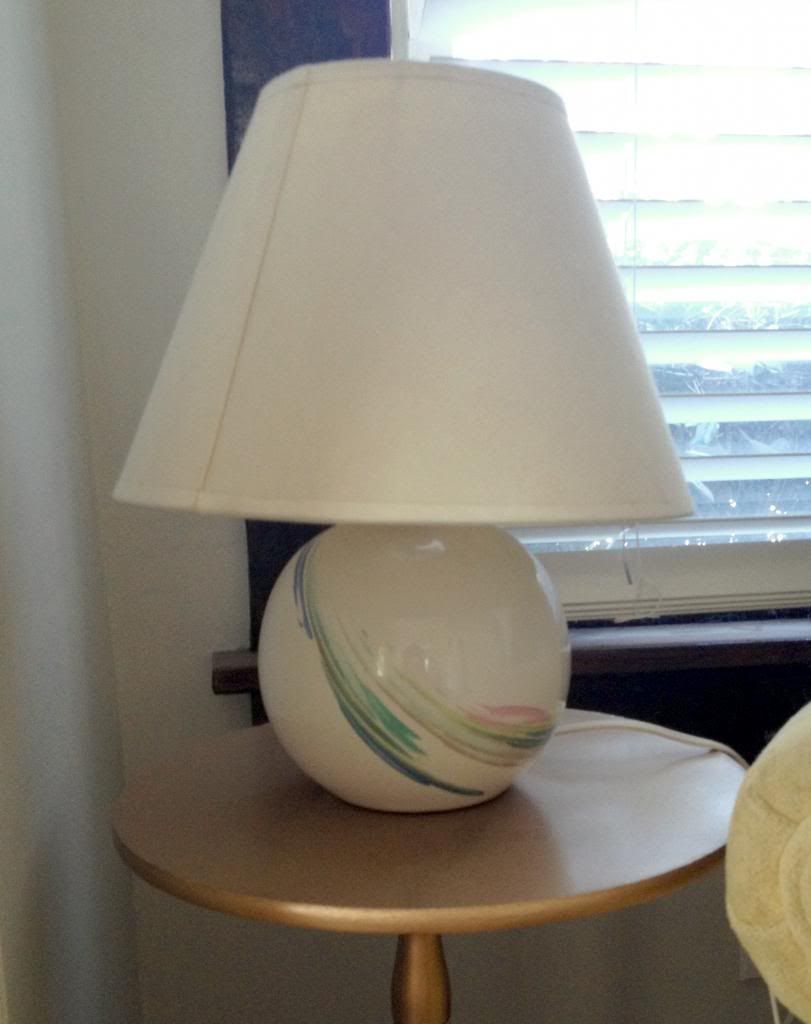
Today I am going to share my very first DIY post! I found this super cute lamp at a thrift store over the summer, and I've had this shade on it as a "temporary" fix, but I've never liked the way it looks on this adorable lamp. It was just an awkward size, just slightly too big, but I've had no luck finding one that fits better.
The day after Christmas, I finally decided I was tired of it and wanted to take matters into my own hands. I didn't really know how I was going to fix the lamp shade once it was ripped into pieces, so after almost a month of brainstorming and trial and error, I've finally come up with a solution.
Materials Needed:
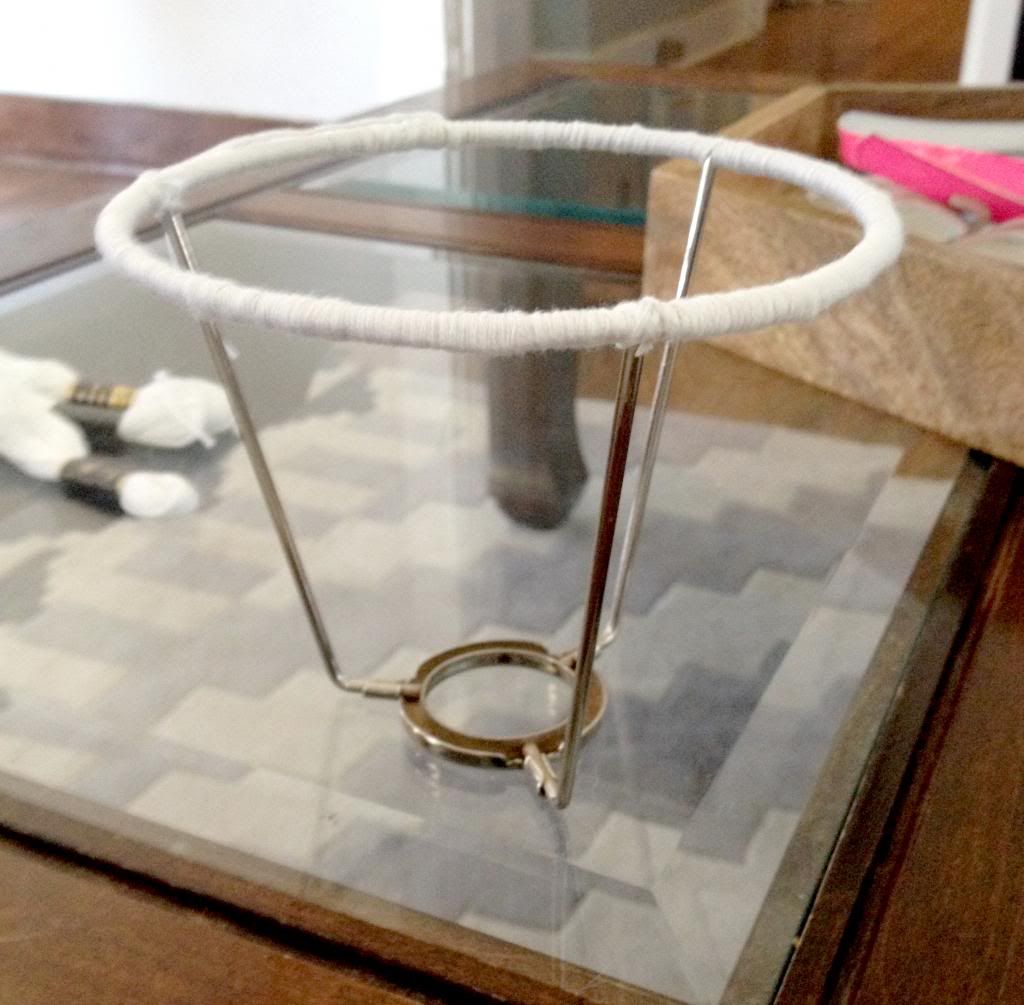
The very first thing I did, without really thinking much about it, was I ripped off all of the plastic/fabric from the metal base. Since there were no metal supports holding the top to the bottom, I ended up with 2 seperate pieces. From there, I took embroidery thread and wrapped it around the metal part.
This is what the top part looked like after I wrapped it in embroidery thread. You could skip this step, but since my original shade was a cream color, and my new shade would be a bright white, I didn't want the old shade to show through.
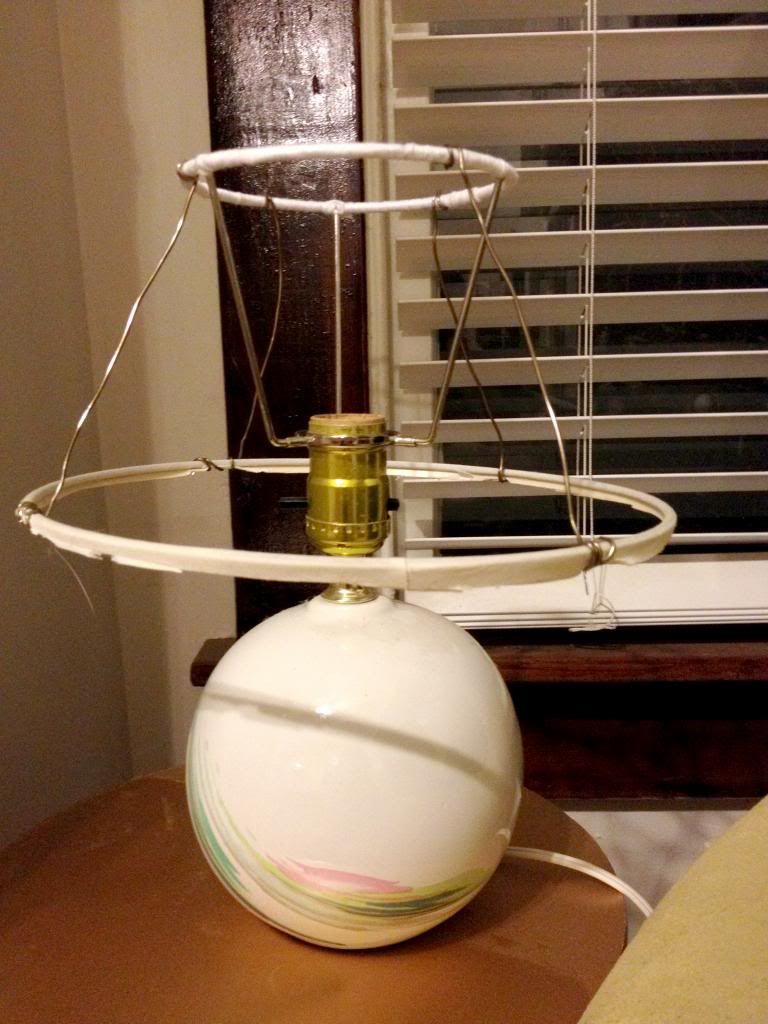
After I finised wrapping the top part, I used the crafting wire to connect the top and bottom pieces back together again. This part was a little tricky, because the wire bends very easily so it was hard to keep the top and bottom level. It doesn't have to be perfectly straight because you can use the string in the next step to even it out. However, you do want it pretty close because this is the easiest step to get it straight. I used 4 pieces of wire in this step. Here is what mine looked like after I connected the two pieces with wire.
A little tip: Make your shade a little longer than what you want the end product to be. It will more than likely shrink up a bit in the next step from the tension of the string. In the above picture, I hadn't wrapped the bottom portion yet, but I did do that before the next step. Also, if your lamp shade already has supporting wires, you can skip this step.
This last step is probably the hardest, so be prepared to stretch your patience just a bit. You'll need to take your string and wrap it around the shade with even tension to make sure you don't make the top and bottom pieces uneven. Since my embroidery thread had lots of creases in it, I put it in water first to make it easier to work with and to get the kinks out. The only downside to this step is that the string tangles much easier. I went in a zig zag pattern because it was easier to keep the pieces level. Here is what my shade looked like after my first layer of thread.
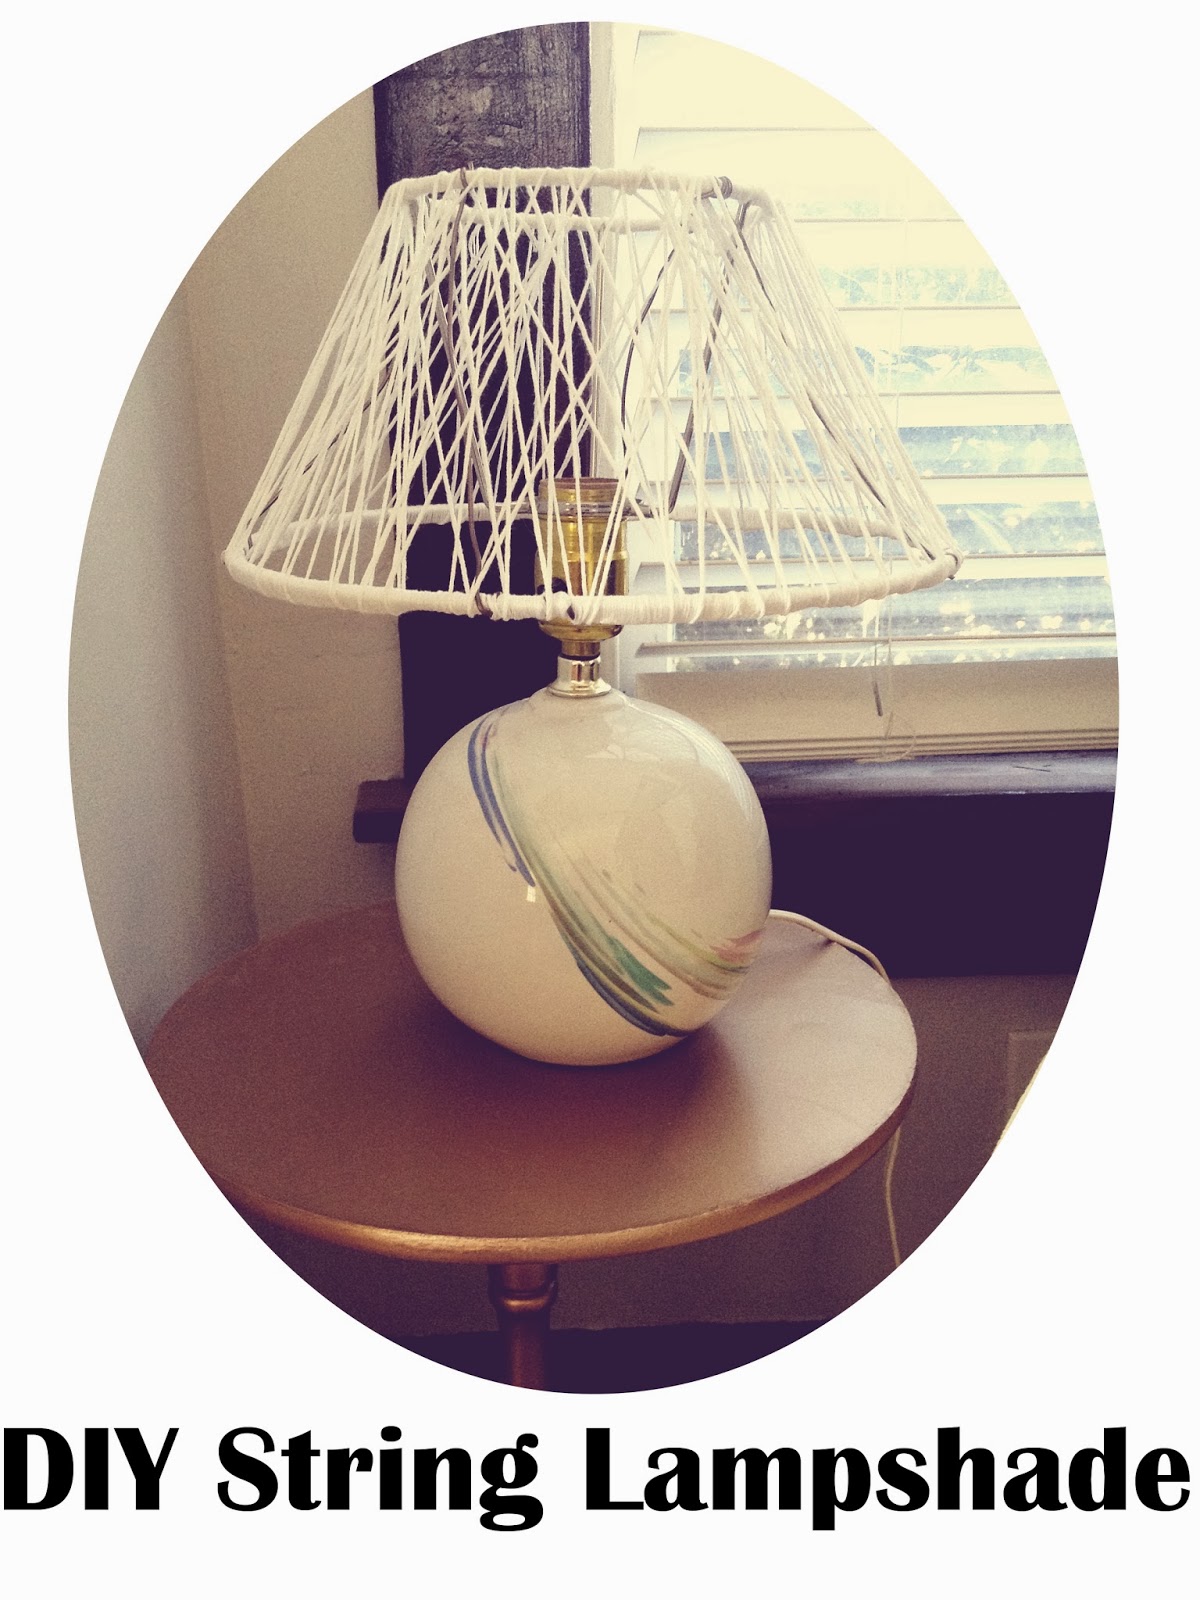
I kept adding the string in this manner until I was happy with the final look. I trimmed the loose strings, and then I was finished! I think I will add some kind of protective coating, but I haven't decided what to use yet. Here is the final product!
I think the shape is much more fitting for the lamp and I love the new look. It doesn't really add much shade from the bulb, but I generally use a lower wattage bulb in this lamp, so I don't think it will really matter. I hope you enjoyed this tutorial, and if you decide to make one of these cute shades, I would love to see the results!
xo-Nancy